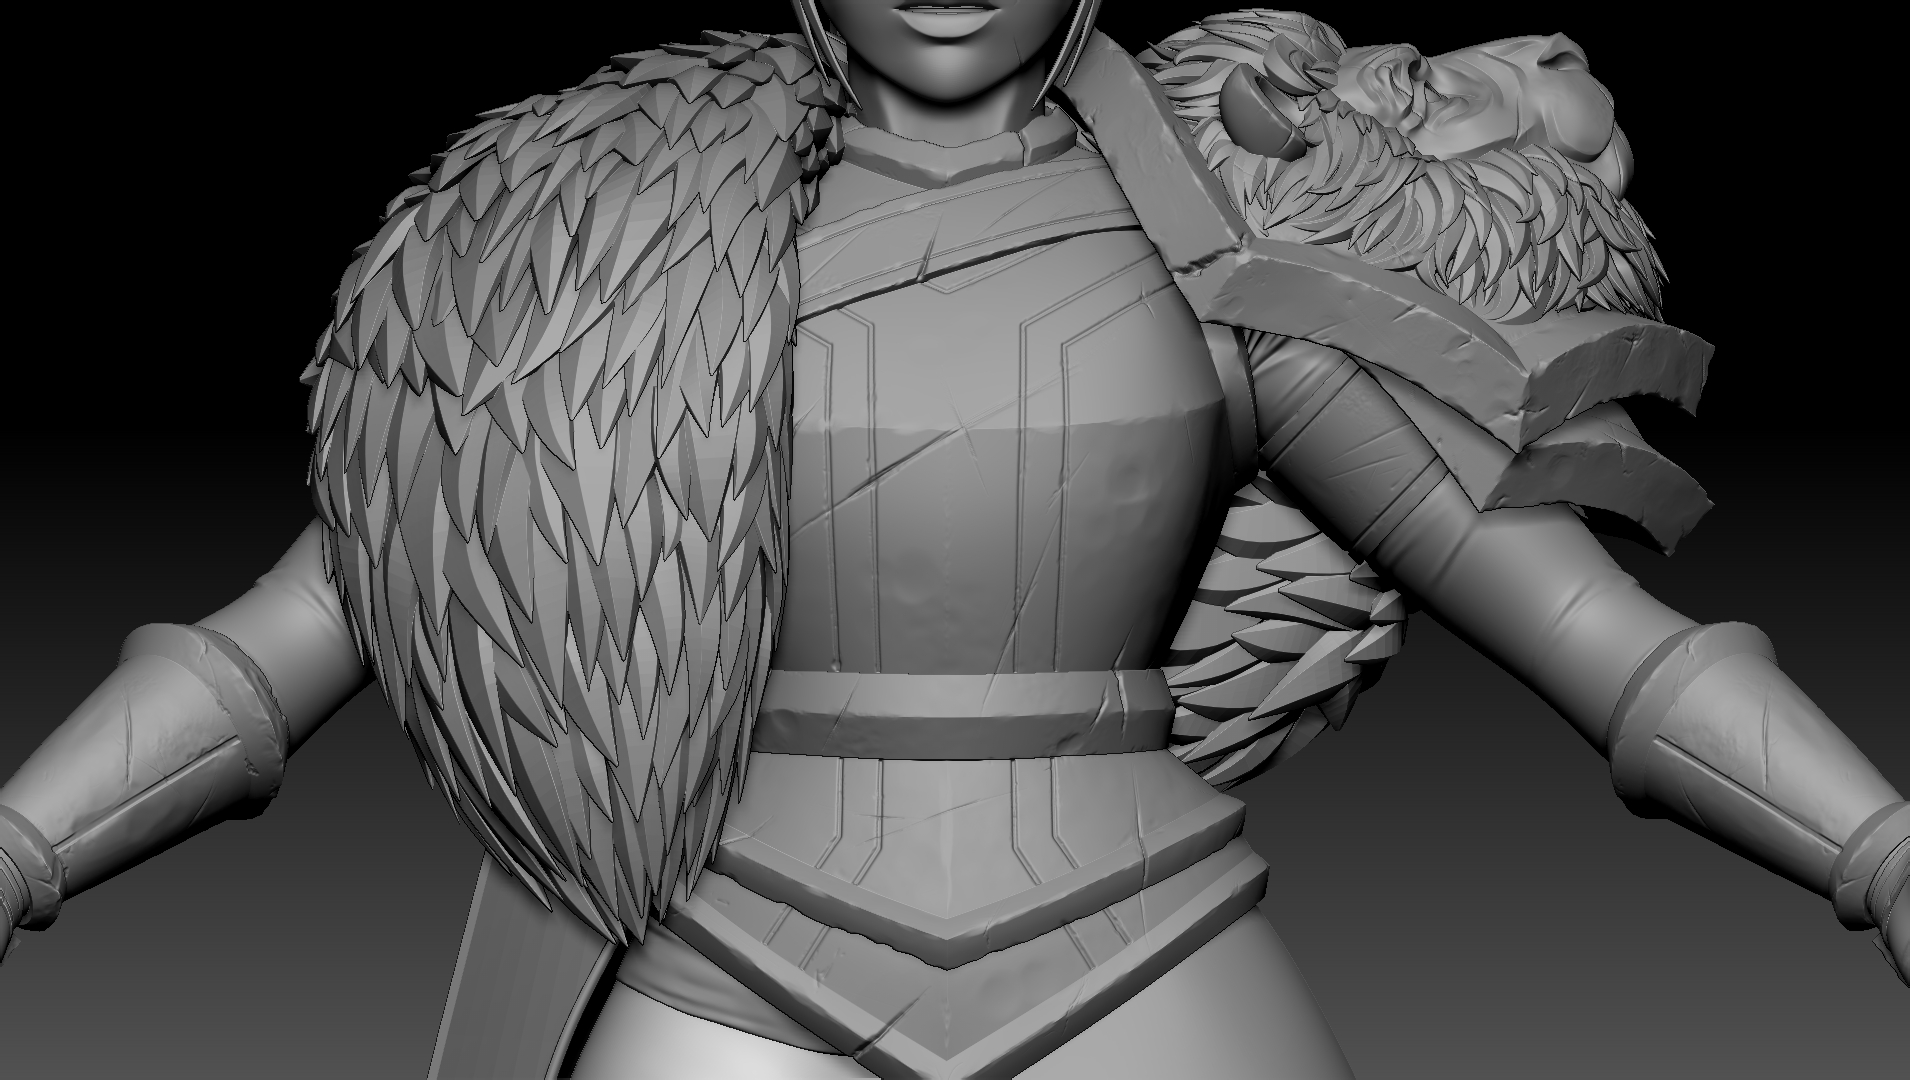
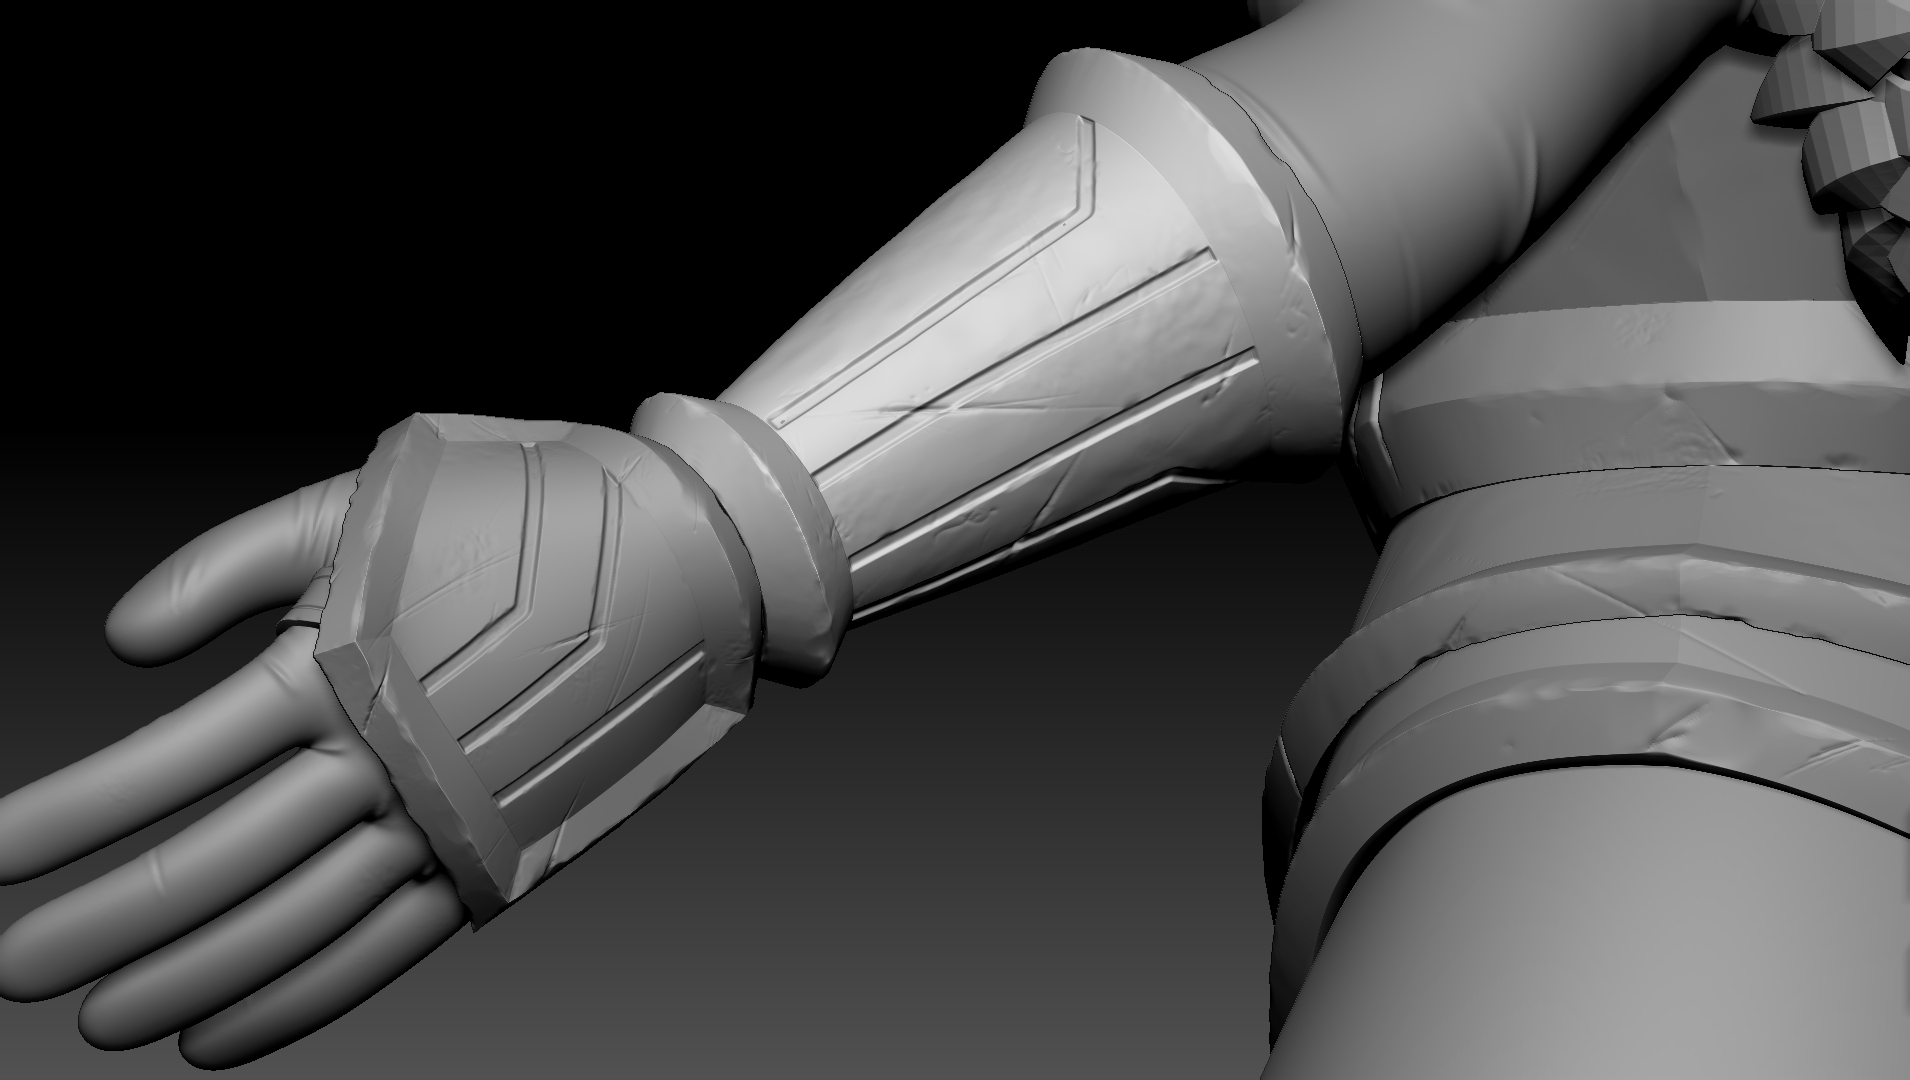
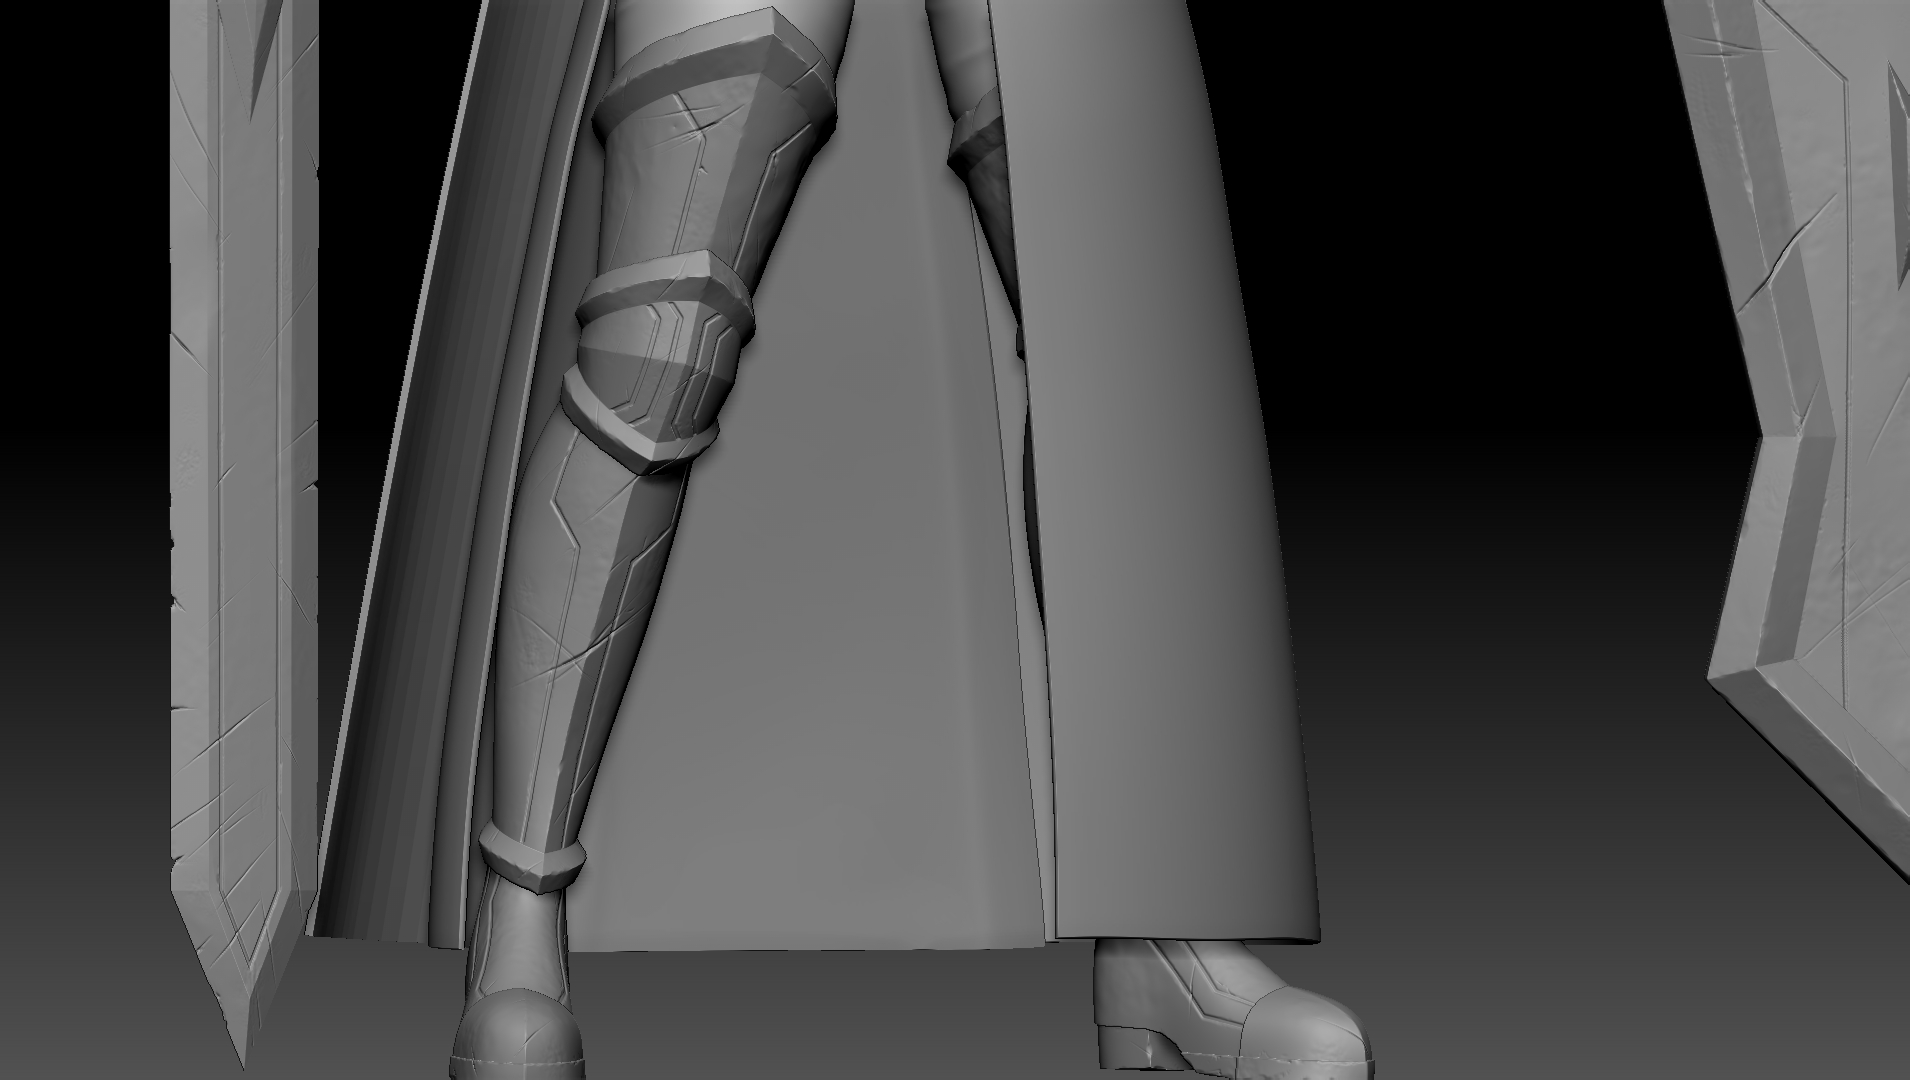
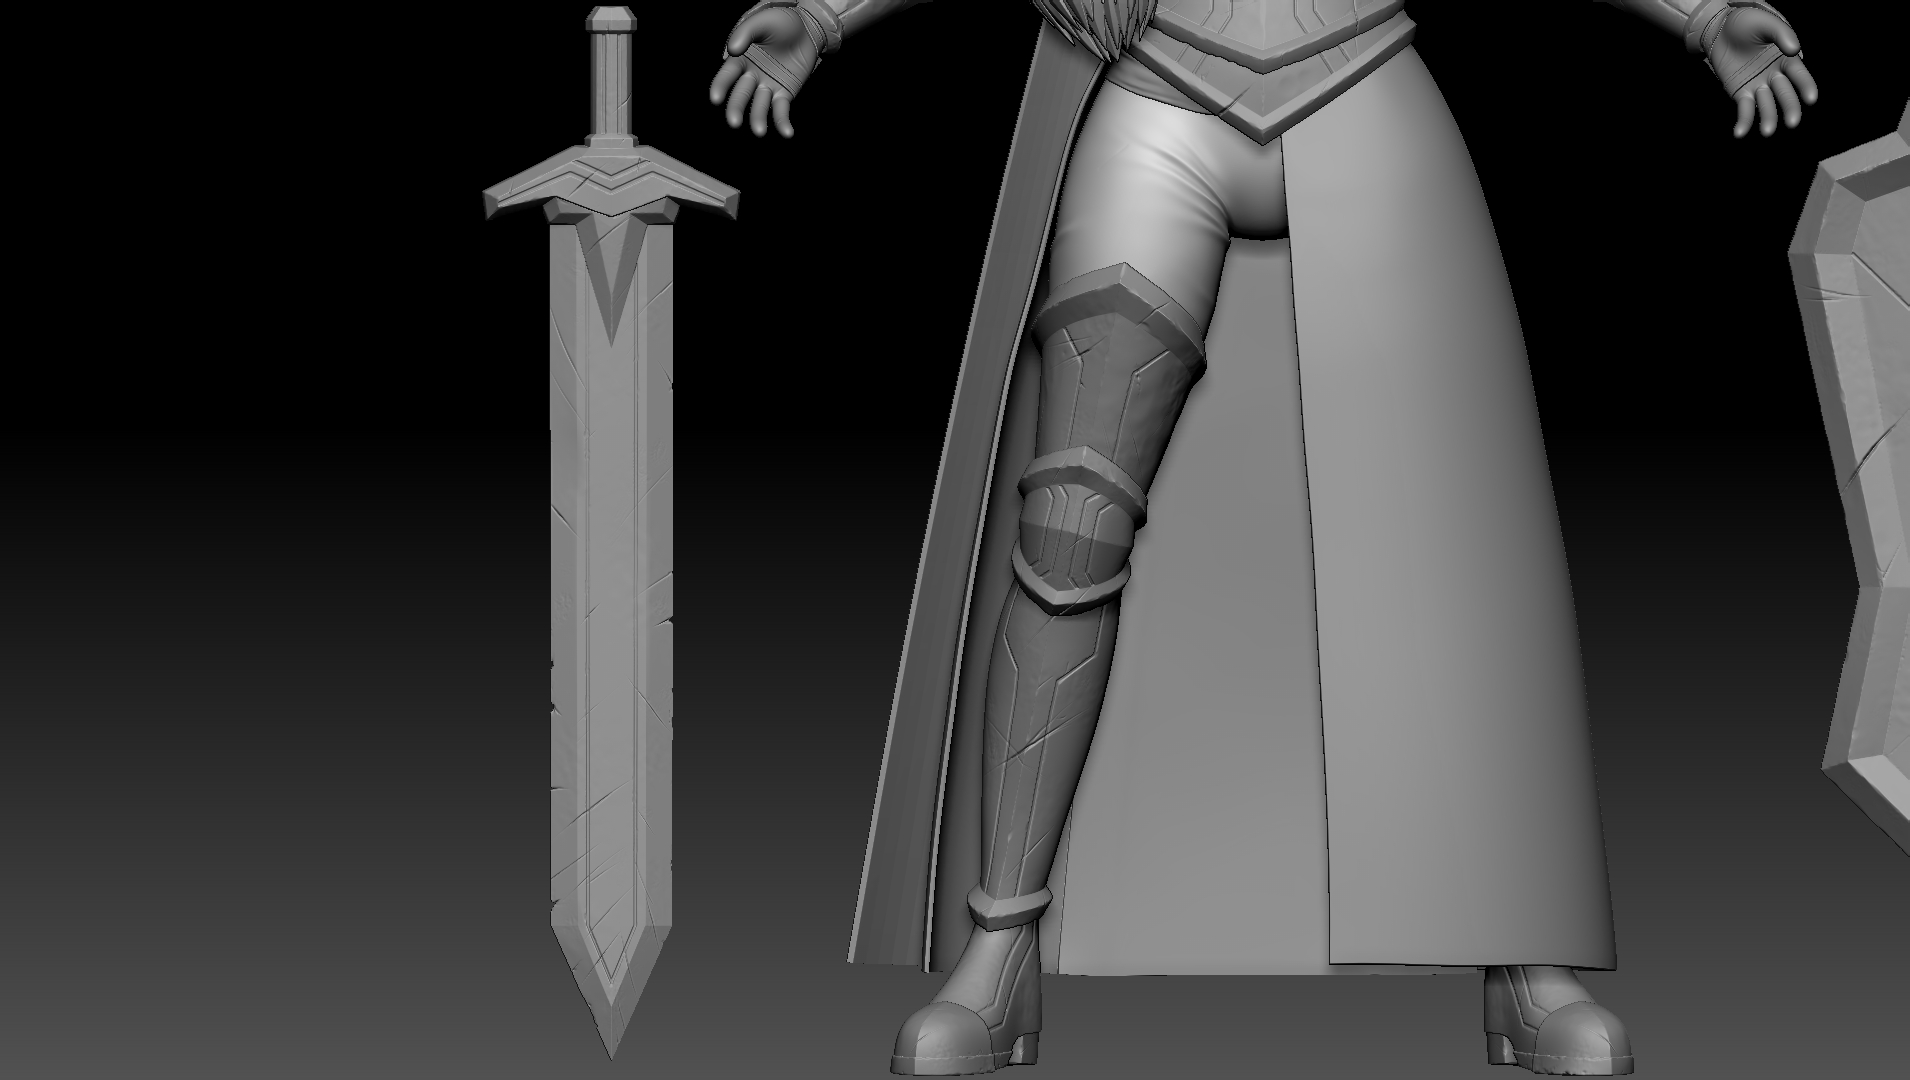
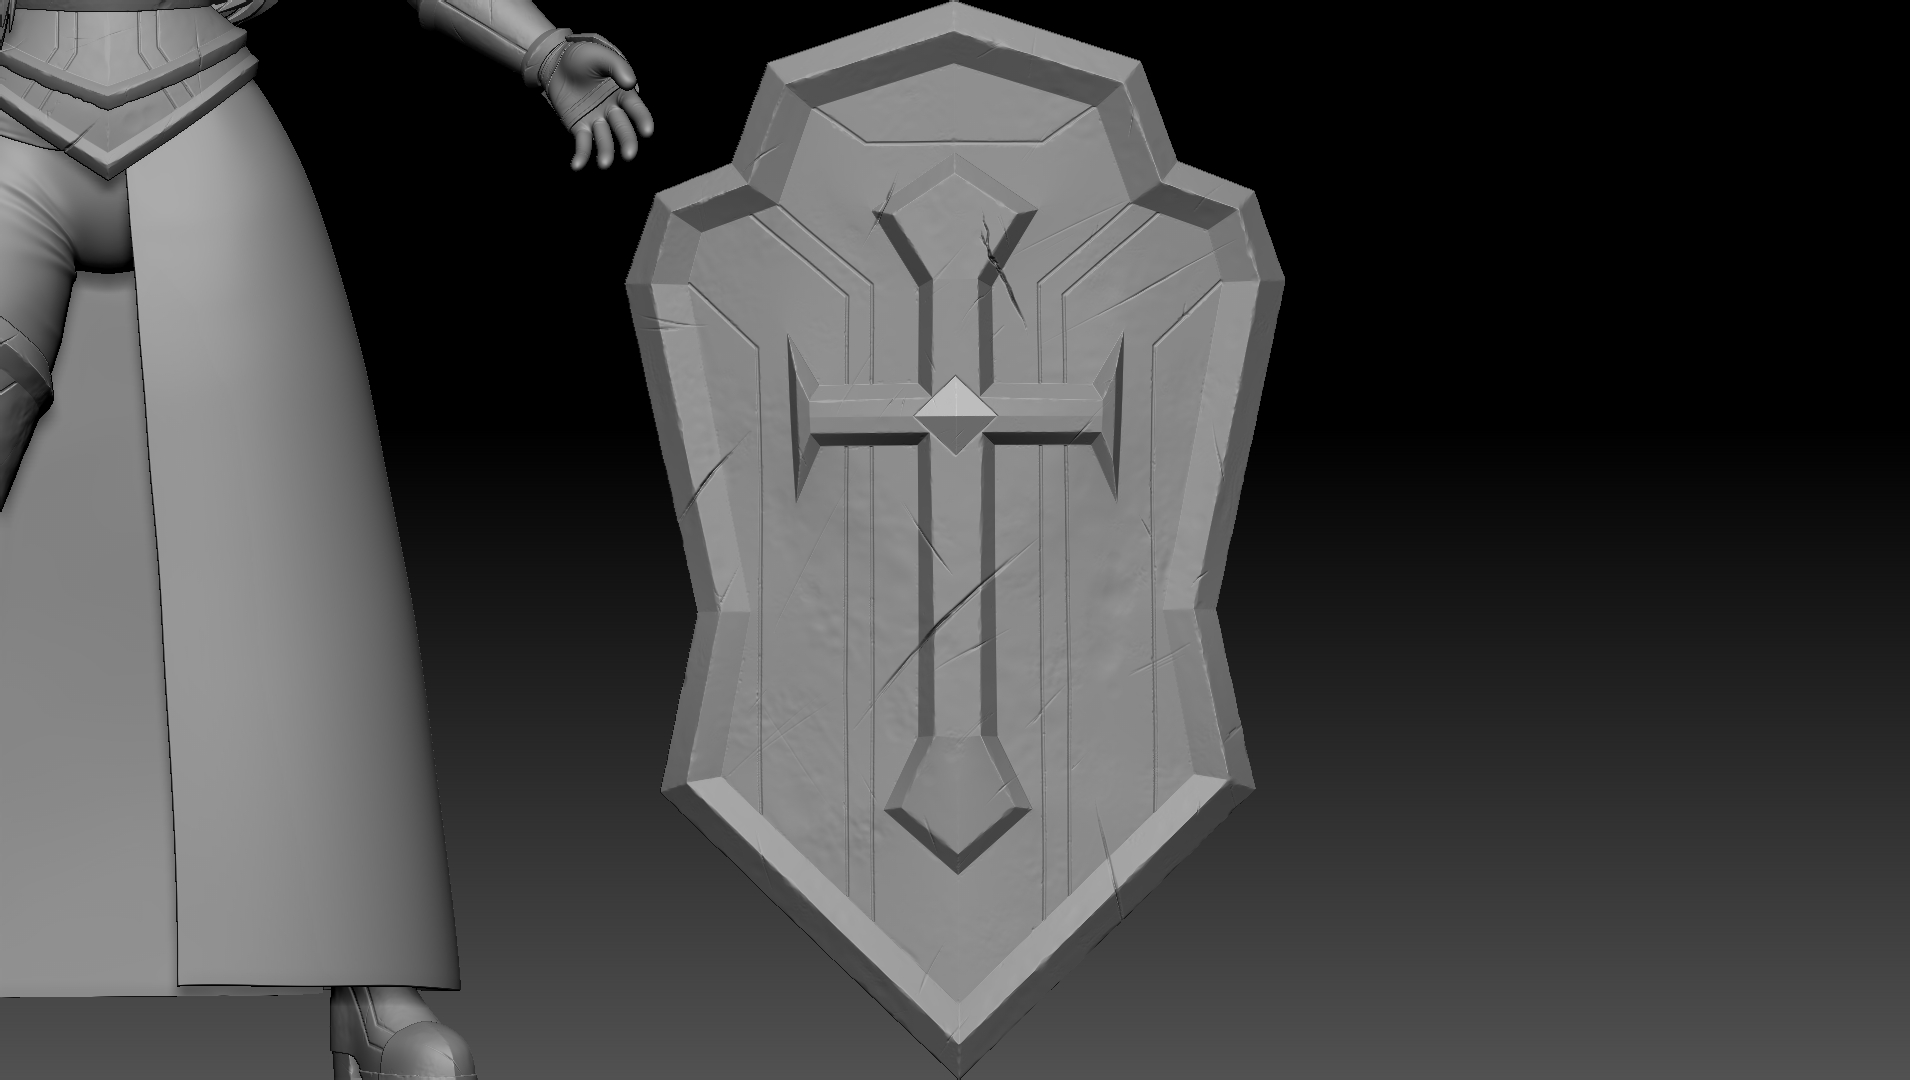
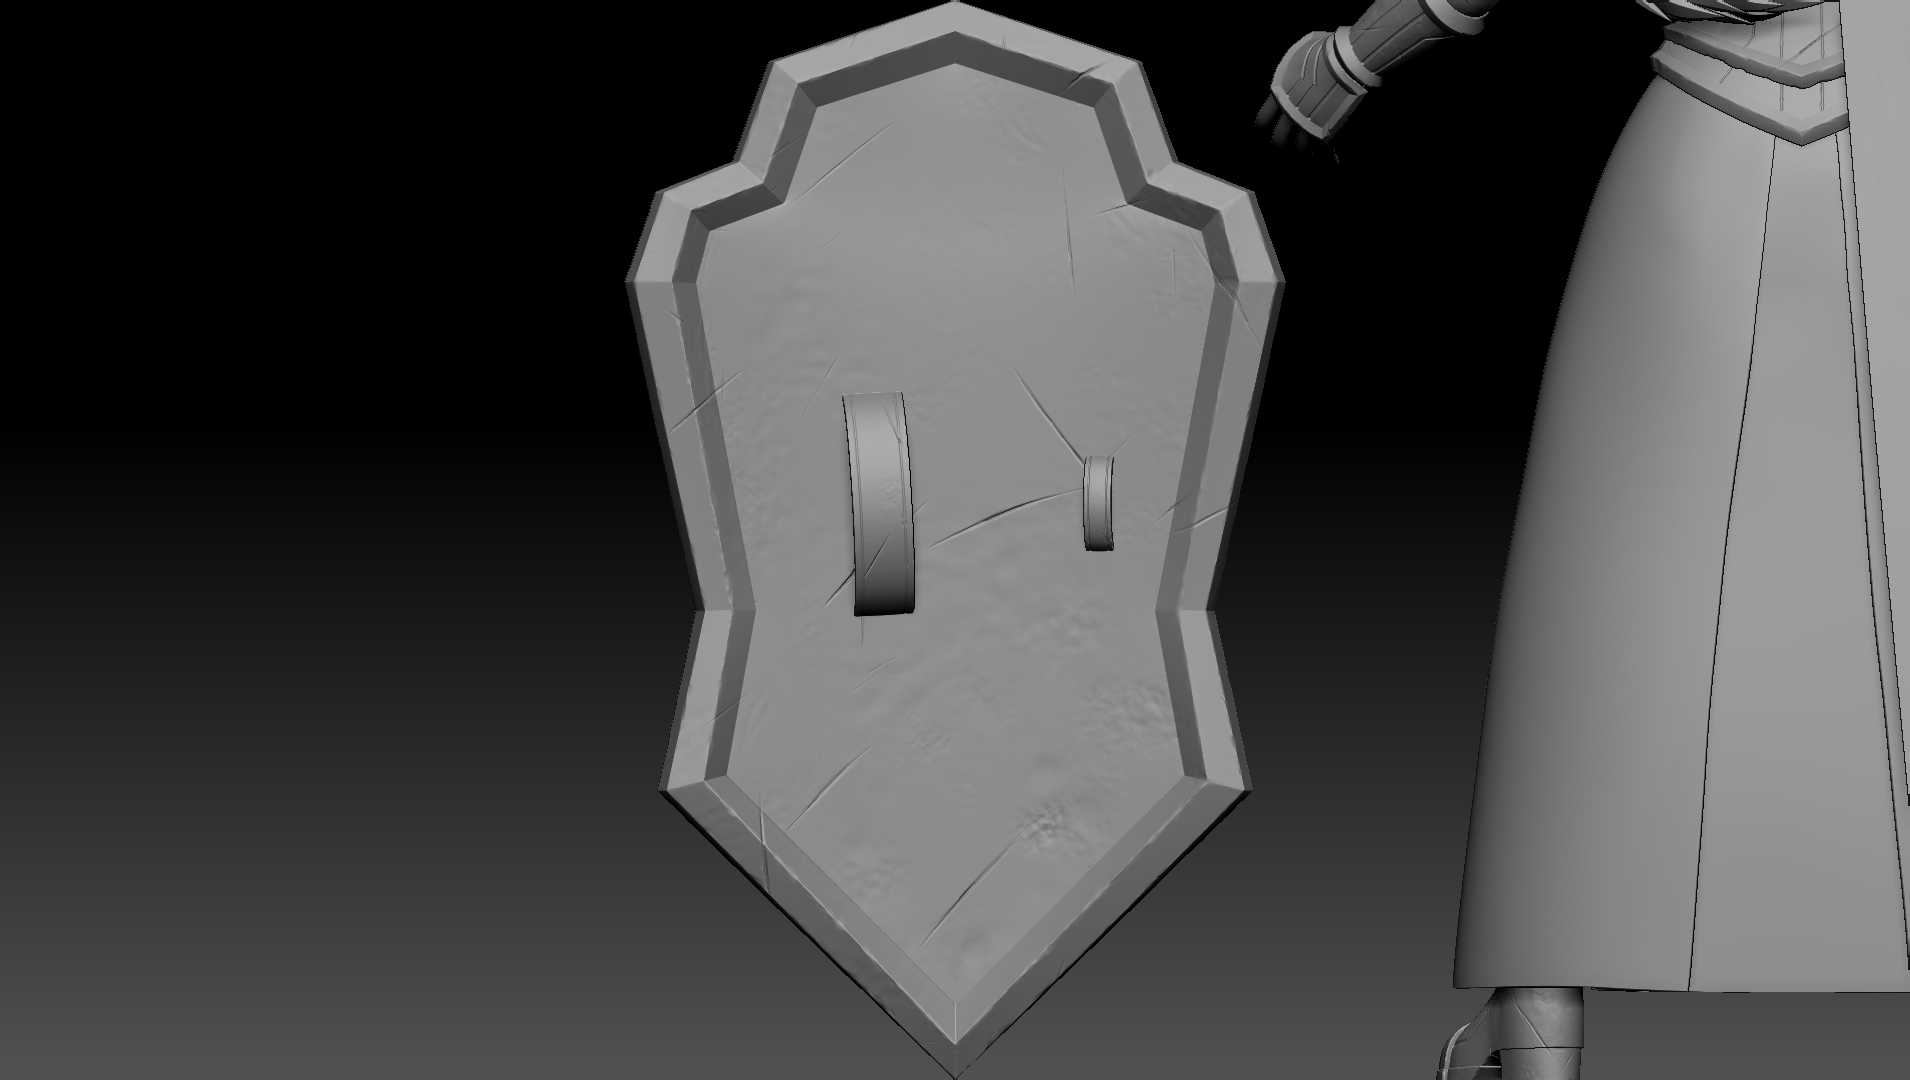
My next task was to make the armour look worn and damaged. I wanted the armour to look both battle-damaged and also handcrafted. Therefore, I attempted to create a pummeled look and carving in some hard gouges and cracks.
Firstly, I used a combination of stamp brushes and the polish tool to create hard dints for the pummelled look. Secondly, I used the Dam Standard brush to carve a hole, followed by the pinch brush to tighten it for the cracks. Finally, I created rough edges using the polish brush at angles to flatten off every sharp edge and create realistic-looking dents.
To learn this effect, I closely followed a tutorial by Stylized Station (Jelovcan, 2021). I’m happy with the final look, although I wish that at the time, I had thought to add damage to the cloth surfaces as well. As they look out of place in the final renders, being entirely in-tact. Instead, they should have included holes, rips, and even dried mud or blood. In future projects, I will ensure to damage the cloth elements as well.
References:
Jelovcan, N., 2021. Beginner’s Tutorial: Creating Stylized 3D Game Assets. [image] Available at: <https://www.youtube.com/watch?v=H87YEM0vUPU&t=1115s> [Accessed January 2021].

No comments yet.